
This action requires knowledge about the OBS WebSocket communication. You can find the documentation here. As we understand this might be a bit too technical for most user, we will try to explain how to use this in this tutorial as well.
The communication to the websocket requires the JSON data format. With this action we provide the wrapper that handles the communication and the full message formatting. The only thing you need to do is add the request type, provide an optional ID and the actual data for the request.
This is type of request you want to send to the websocket. This is the identifier for what the websocket should do.
This is a personal id you can give this action. This id will be sent back from the websocket to Touch Portal and you can listen for it if you need. All ids are prefixed with tpc_ to ensure they are not interfering with other returned results and events.
Where the type is to identify what the websocket should do, the data is what specifies how that request should be done by the websocket. This usually is the more tricky part to get correct as this needs to be in correct JSON format.
For this we are going to drag and drop the Toggle Button from the premade buttons list. Drag it on an empty button.
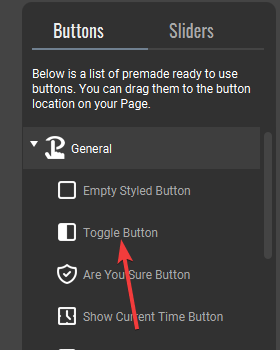
This will create a functioning toggle button from which we will start this example. Open the button so we can add the functionality.
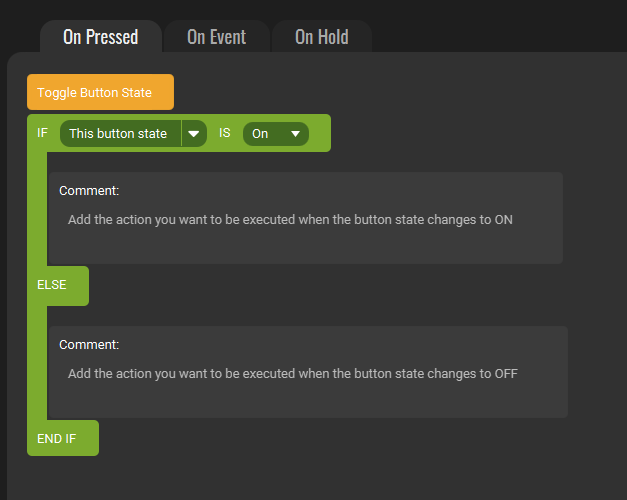
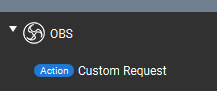
Now we check the actions list on the left side of the button edit screen and search for Custom Request
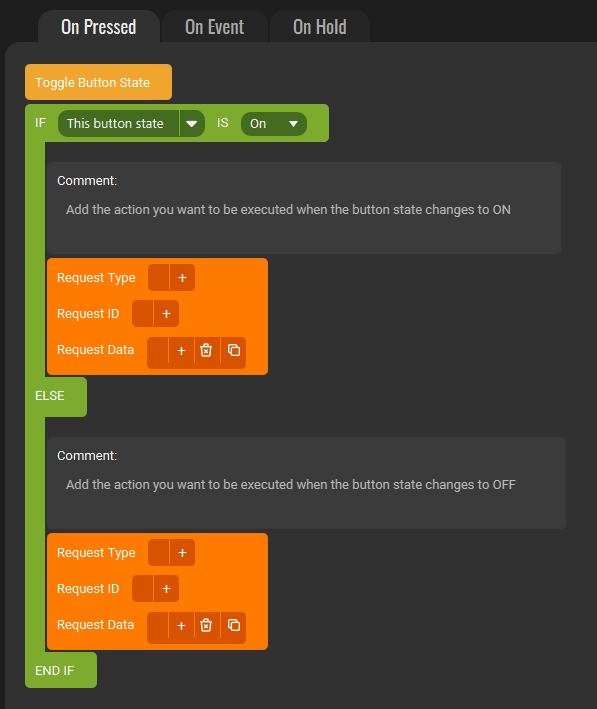
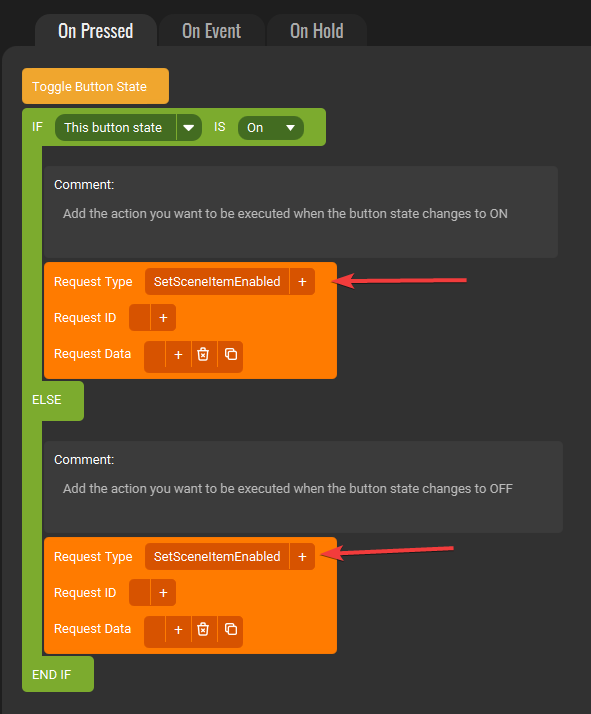
Drag that action to the places beneath the two comments, so that means you add the action two times. This will result in the following layout.
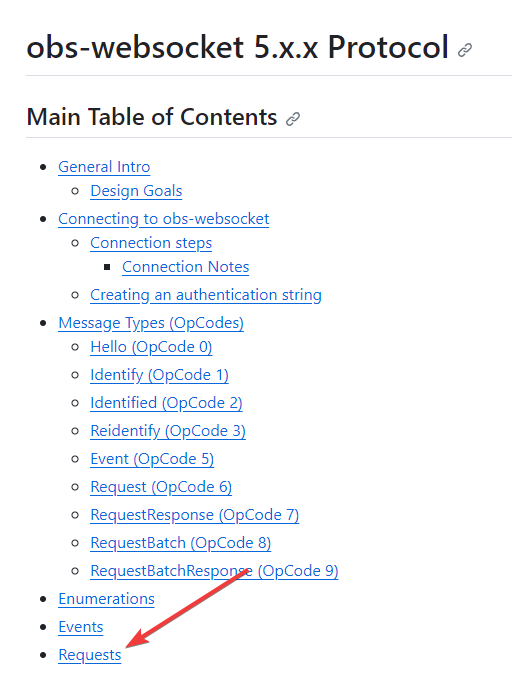
Both actions will require the same type. The type we will be using is the SetSceneItemEnabled. The Websocket documentation has a menu at the top and from there you can go to the list of all available requests the Websocket offers.
So we use this for both custom request actions. The data will eventually specify whether this request should show or hide the scene item (source).
For this example we will leave the ID empty as it is optional and outside of the scope of this example.
The last step we need to do is specify the data we need to send to make the two action either show or hide the source. We need to look at the documentation for the request to know what we need to send. If you click on the request we are using you will see the details of that request like the image below. The Request fiels is the what we need for the data.
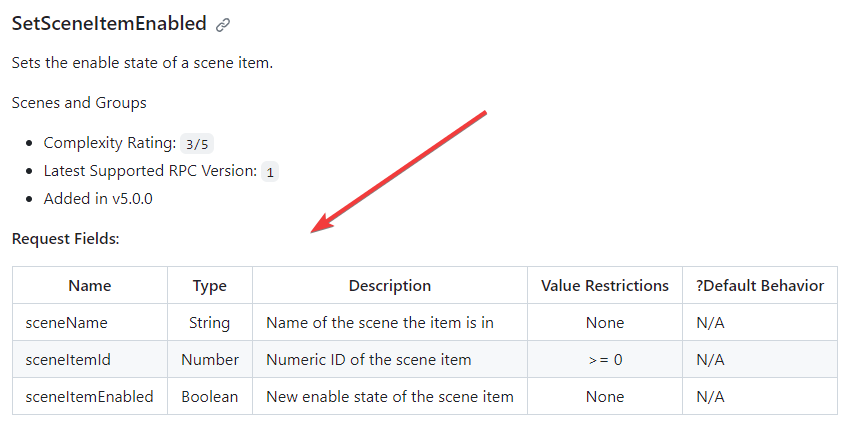
This request shows 3 fields we need to send to the websocket as data to make the request work. We need to the sceneName, which you know as it is part of the scene that holds the source/scene item you want to show and hide. In our case this is the scene Gaming.
We also need the scene item id for the source you are trying to show and hide. This is an id that the Websocket holds as a reference to a source/scene item in a scene. This means you cannot get that information from OBS. So the easiest way to get this id is to use Touch Portal for this. Be sure to enable the OBS logging option in the Touch Portal Logs tab so that information is written in the log from the websocket. Now go into OBS and show and hide your source a few times. The Touch Portal logs will show the event that the scene item changed its state and in that message is also the sceneItem being show

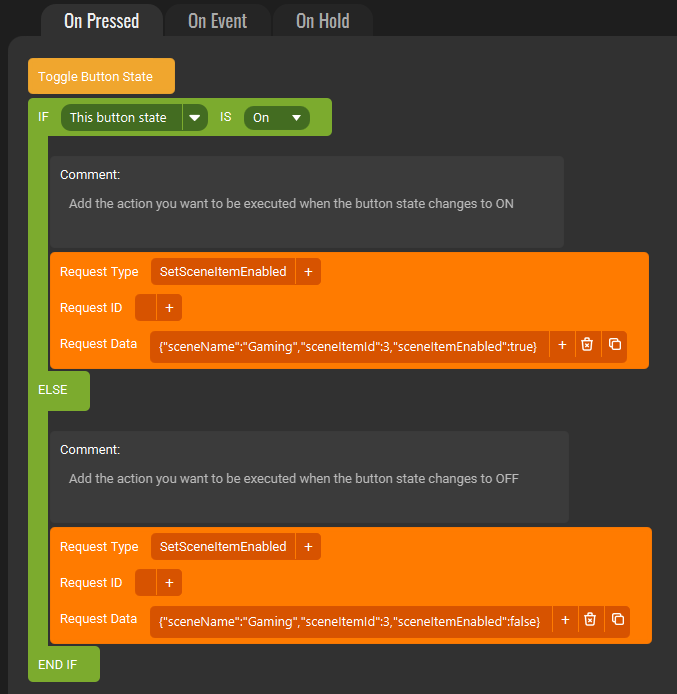
Now we have all information for making the data as well. The scene item id for our source is 3. This results in our full data text for showing the source to:
{"sceneName":"Gaming","sceneItemId":3,"sceneItemEnabled":true}
and for the hiding:
{"sceneName":"Gaming","sceneItemId":3,"sceneItemEnabled":false}
Which leaves us with the following result
You will now have a basic understanding on how the OBS Custom Request action works and how you can use the documentation of the Websocket to create your own OBS actions.