In our previous guide we ended up with a nice premade OBS page.
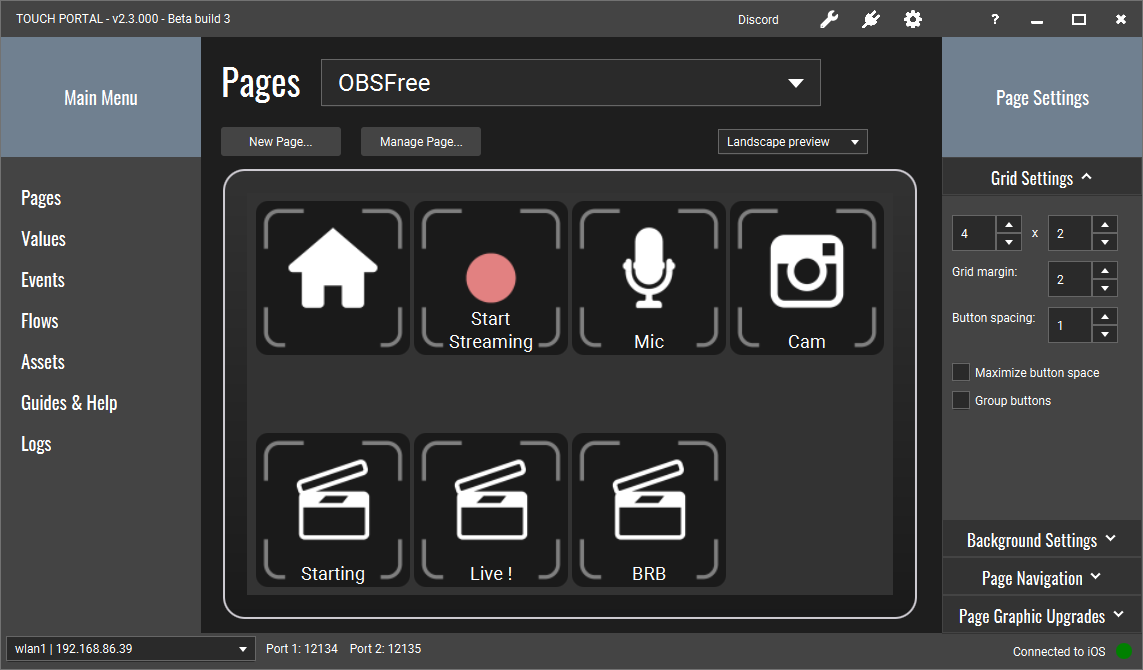
This page above already has a few buttons that interact with OBS. But we also have one spots free to create our own button. This will give you some more insights on how to create your own buttons and how to use the button edit screen.
Anyway, when you are ready, click on the first free space to open the button detail screen.
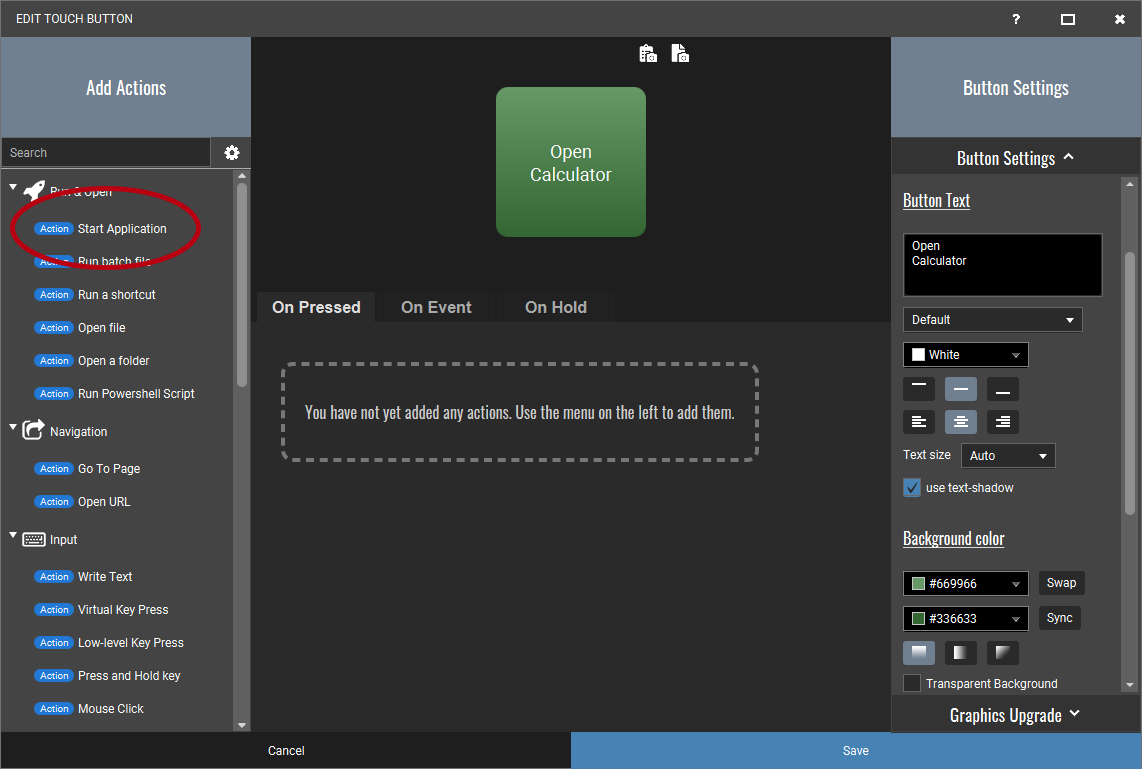
Below is the button edit screen where we have marked the five areas of interest:
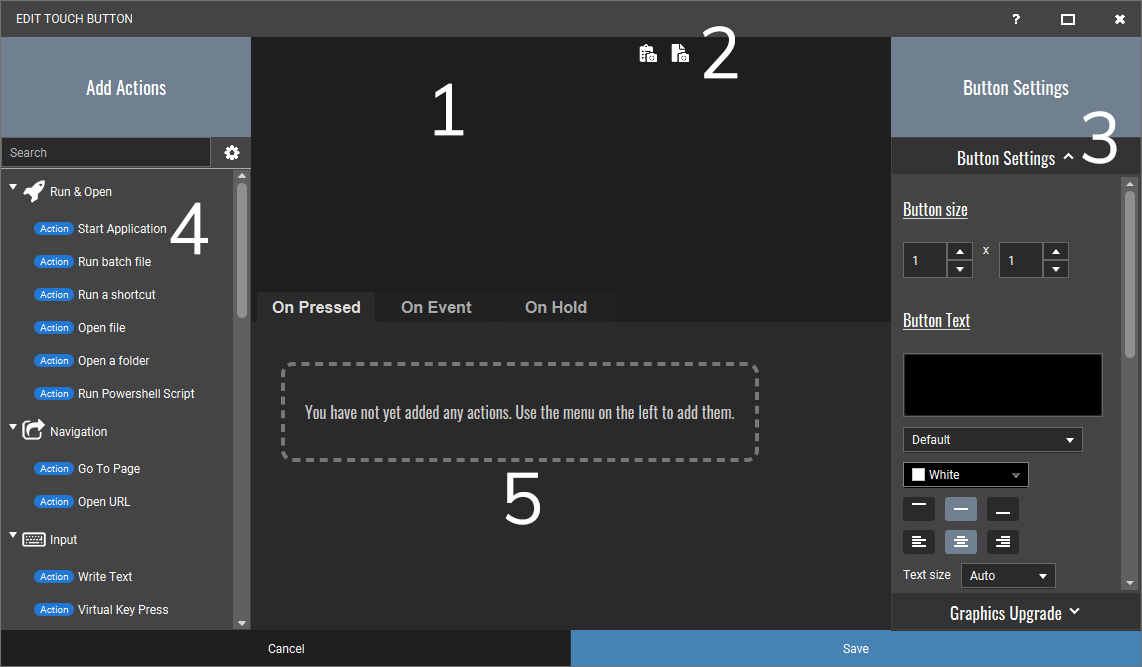
In the button detail screen on the right, you will find all the settings for this specific button. We will create a button that looks like this:
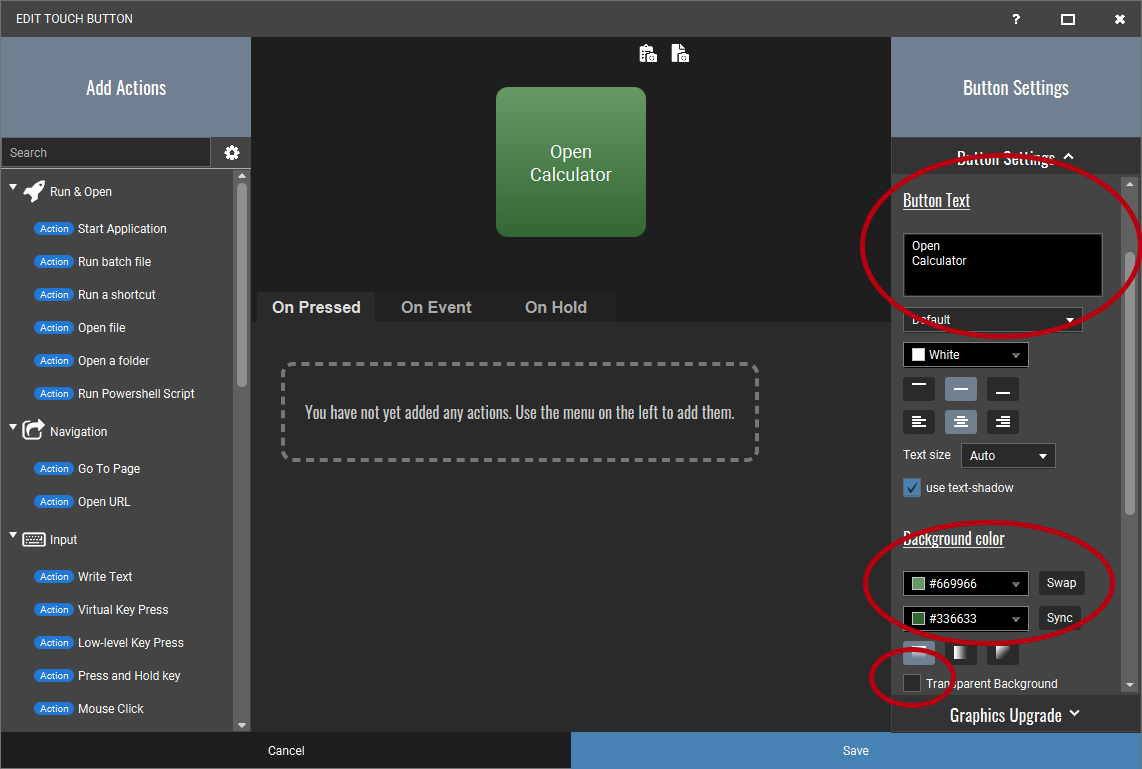
First we edit the button Title. You can use enter to create a new line, this way you can position text on a button better.
The second part is to change the background colors, just choose some colors and do not forget to unselect the "Transparent background" option otherwise it will not show the background.
Now we have pretty button, we need to make it do something. If you use this button now, it will not do anything. So we need to add the action to open the calculator.
On the right of the button detail screen, we have our big list of actions that you can add to a button. All actions are categorized. For this instance we need the "Run" category as we want to run the calculator application of Windows.
Click on the "Start Application" action and it will add an action in which you can specify which application to run
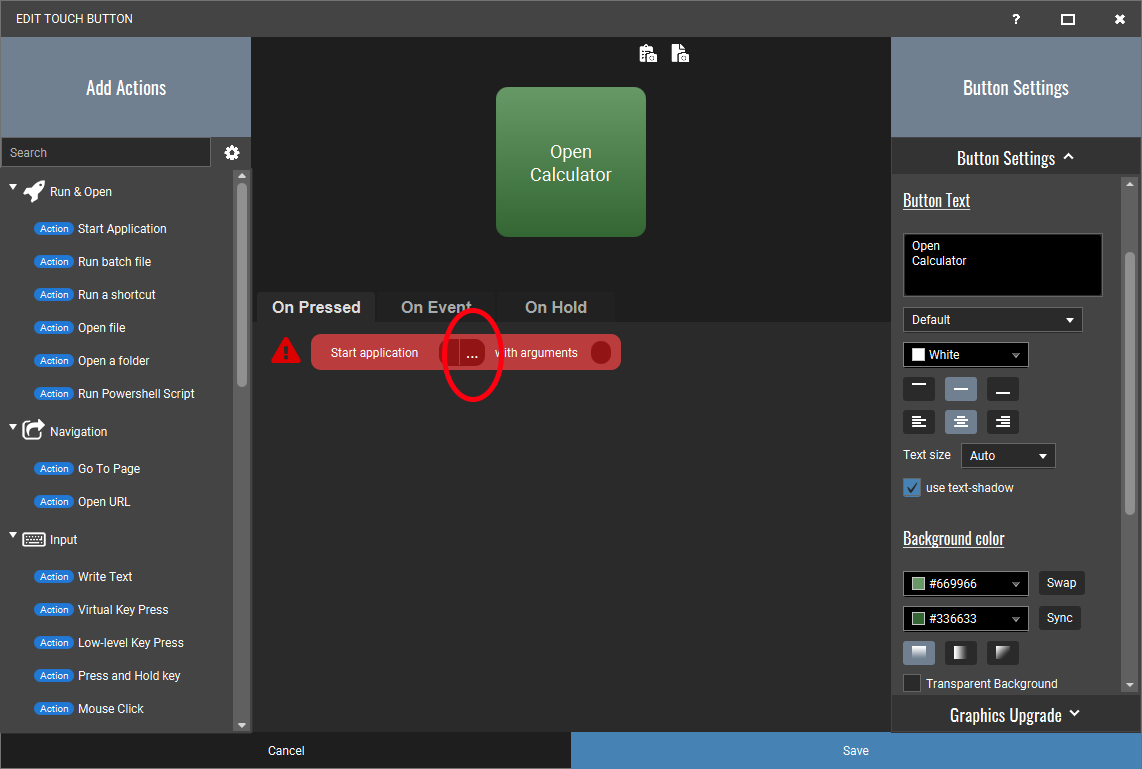
Click on the "..." button to open a file explorer. Navigate to the calc.exe just like we did and select the file. Click the button "Open" and the target is added to the action.
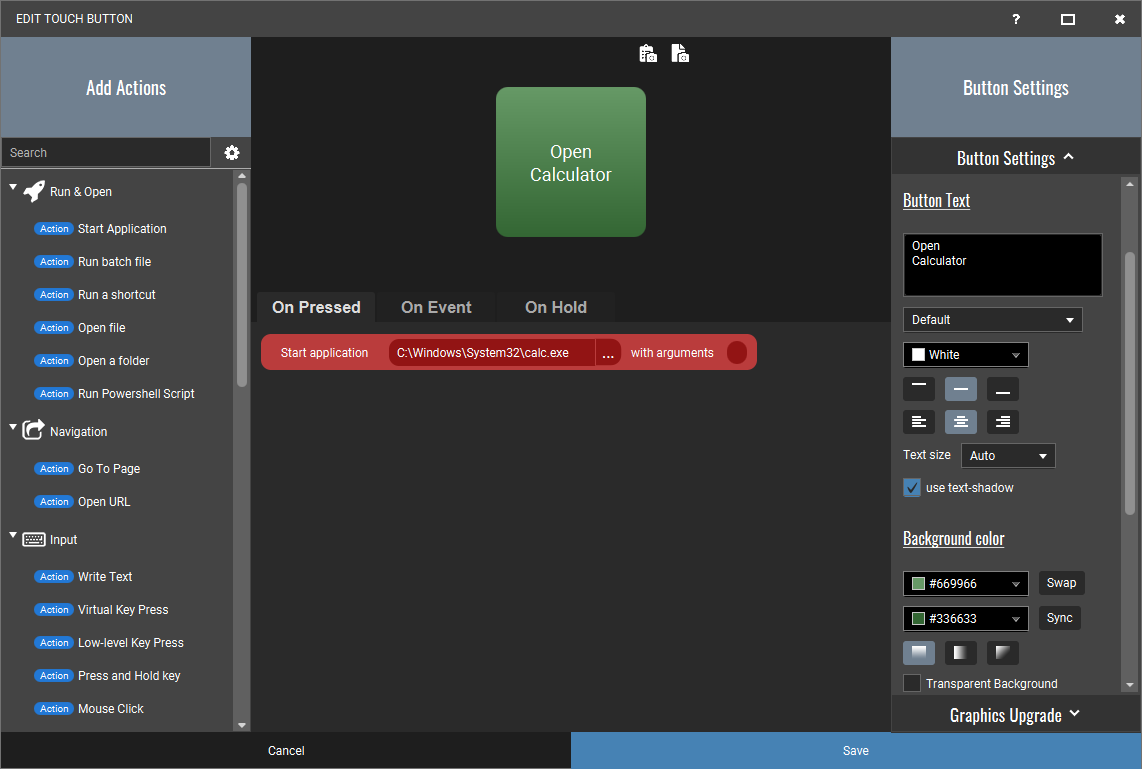
The action is placed on the "On Press" section. Every action in this list is executed in order when you press this button on your mobile device. So in this case each time you press this button it will open the Windows Calculator app.
You now have learned how to change the visual representation of your button and you now know how to add actions to the button.