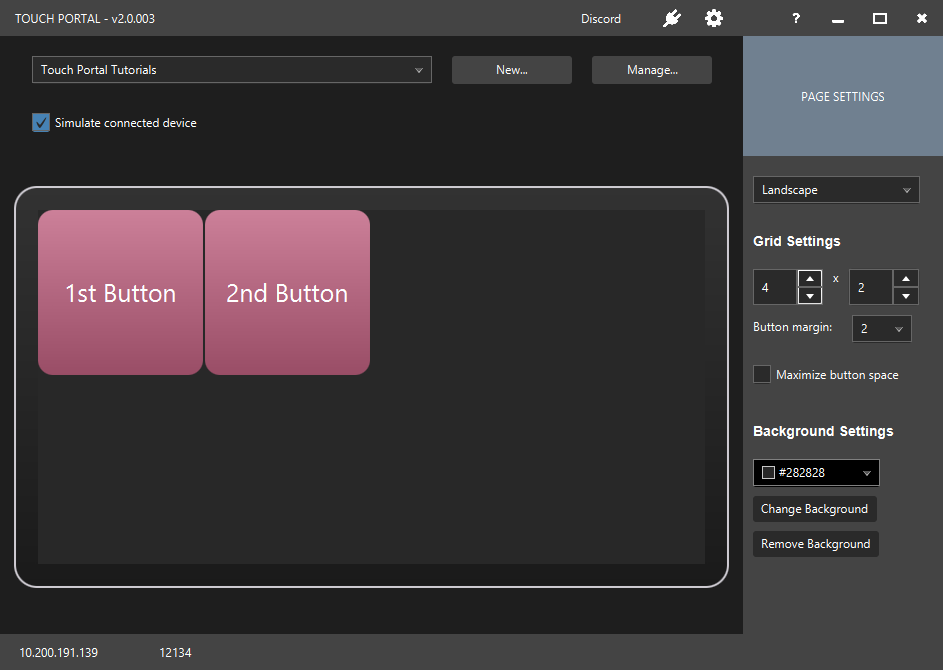
We will start this tutorial by creating two buttons by copying the result of the Toggle button tutorial. If you have not followed it, check out the toggle button tutorial or check the image below.

We are going to make a radio button and one of the characteristics is that pressing one button will change the state of another button. For this to happen we need to have two buttons off course. So copy (right click mouse on the button and select "Copy Button") the button we created and then paste it on the spot next to it. We now have two toggle buttons.
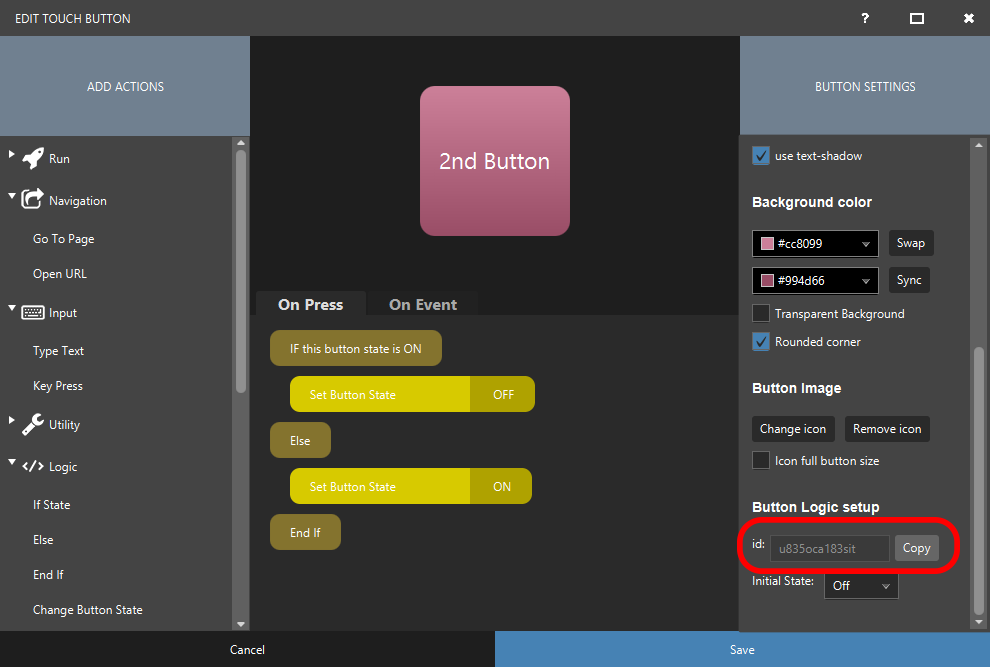
So now we want our buttons to change when the other button is pressed. To do this we take advanced of the Change Button State by ID action. This action lets you change the ON / OFF state of another button by using the id of that button. What id? Well in Touch Portal each created button has an id. Lets get the id of the second button. Open the button detail pages of the second button and scroll down in the settings and find the id field and click on the "Copy" button.
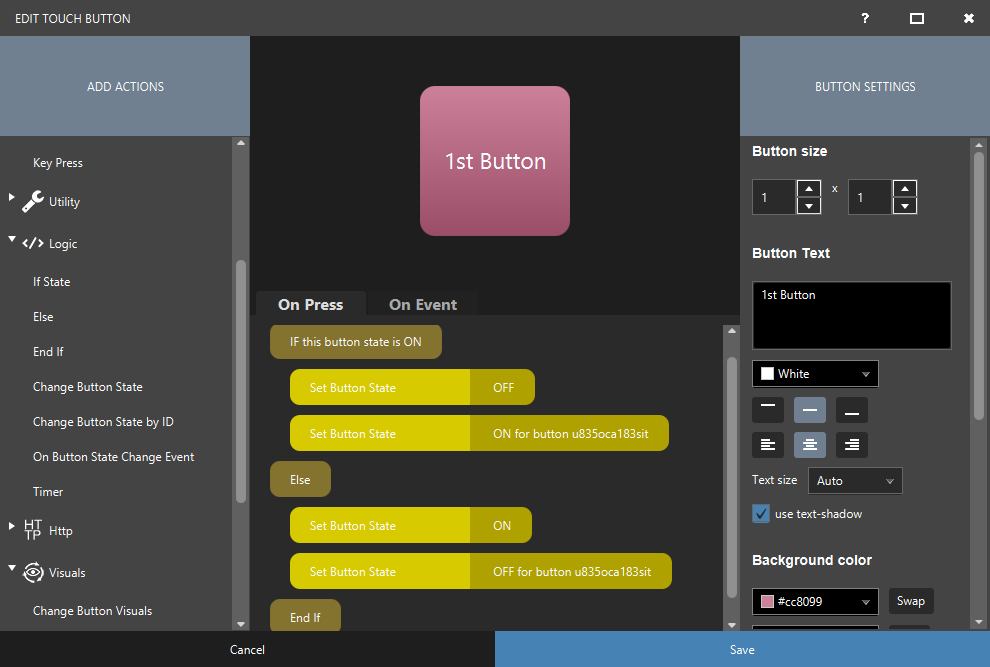
Now we have the id copied, let create the Change Button State by ID action. Add the action in the FIRST button and set the state to ON and paste the id into the id field. The action will look like this:
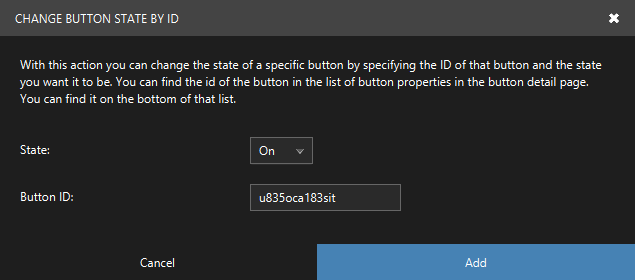
Now we place it at the correct place. If we change the state of the first button to OFF, we need to put this action in place so that it will set the state of second button to ON.
Do the same for the other state in button one and it should now look like this:
Now run press the first button a few times. It should now also switch the
state of the second button. So let me explain the logic a bit; When you press
the button the On Press will be triggered. We first start to check if
the state is on. If it is, we change the state to off. This will trigger an
event that will be handled by the On Event if we have added that. But we also
set the state of the other button to on. Since our if statement was true we
do not execute the else statement so our button is done. If we press it again,
the state is off, so the else sequence will be triggered.
When you press the second button it will only
set its own state so we still have work to do. We need to add the change button
state by id in the second button as well to change the first button.
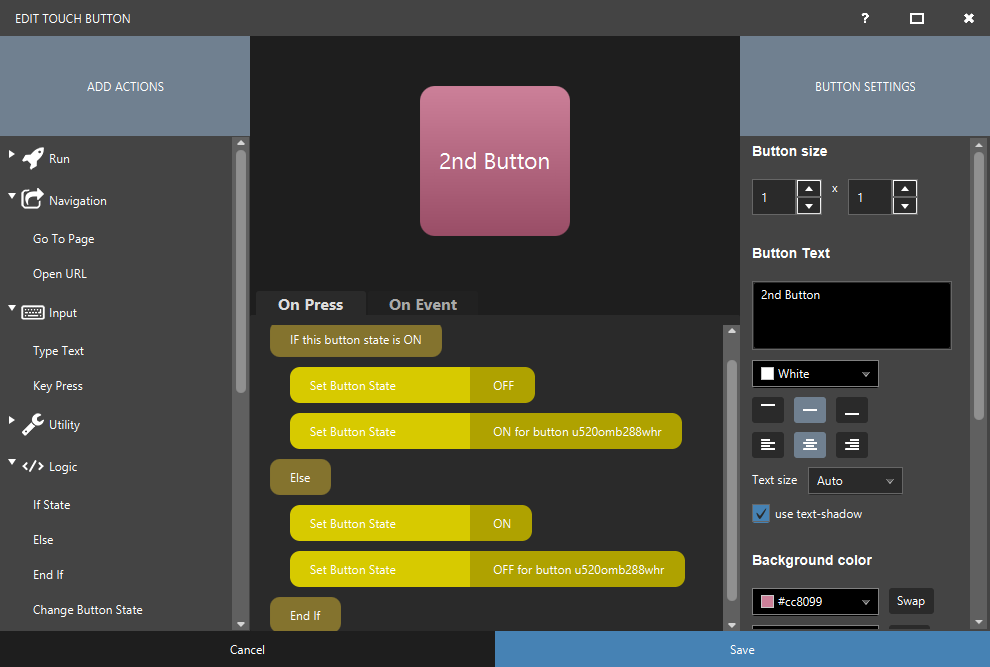
Now do the same for the second button as we did in step 3 but now copy the id of the first button. This will result in the following button setup for the second button:
Now press both buttons and they should toggle each other as radio buttons do.