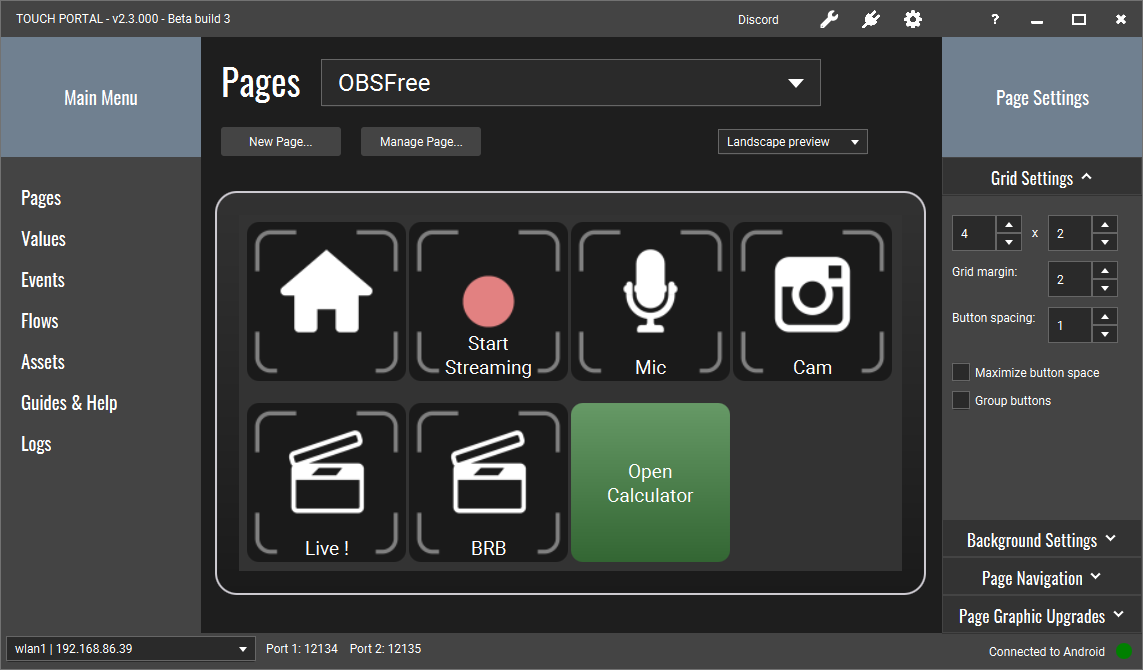
We start with our "OBSFree" page. As you can see we have a space free to add a new button.
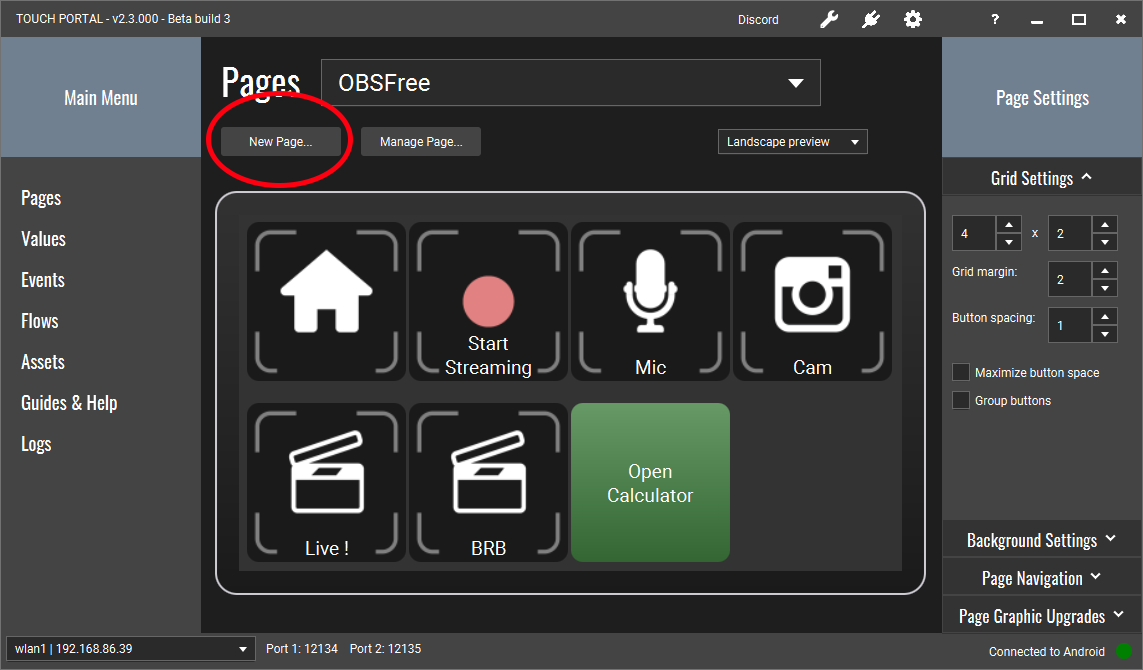
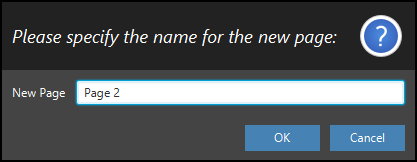
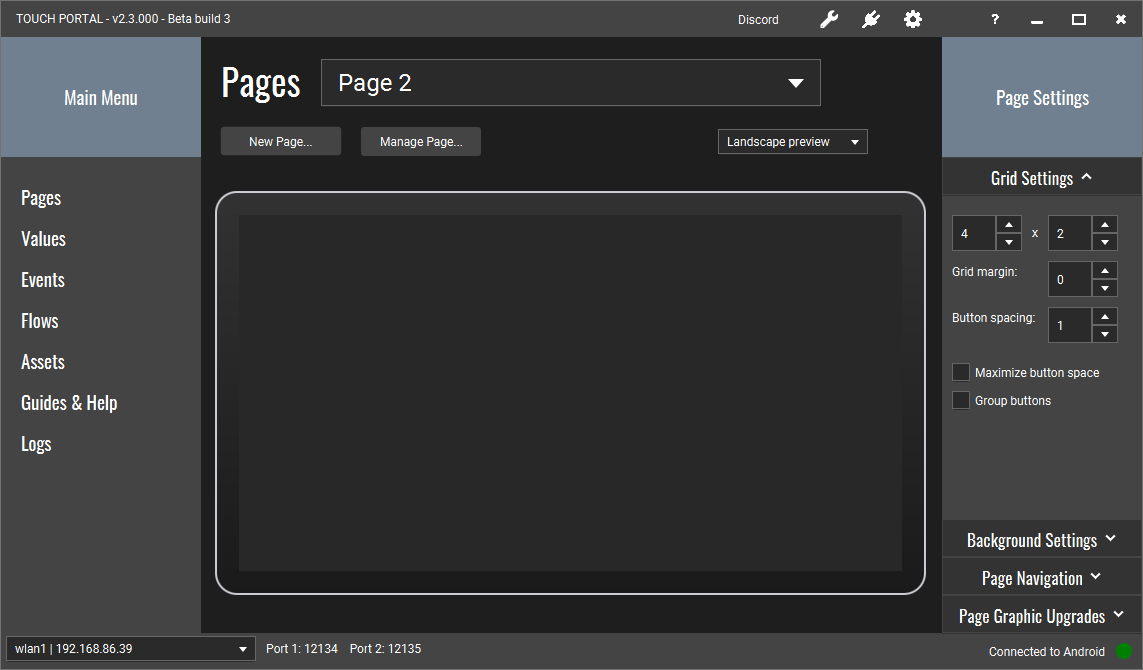
In this guide, we will create a new page. Click in the "New..." button which will open a popup where you can specify the name of the new page.
Name it "Page 2" and press "Ok"
You will now see your newly create page in the main screen. The page is empty.
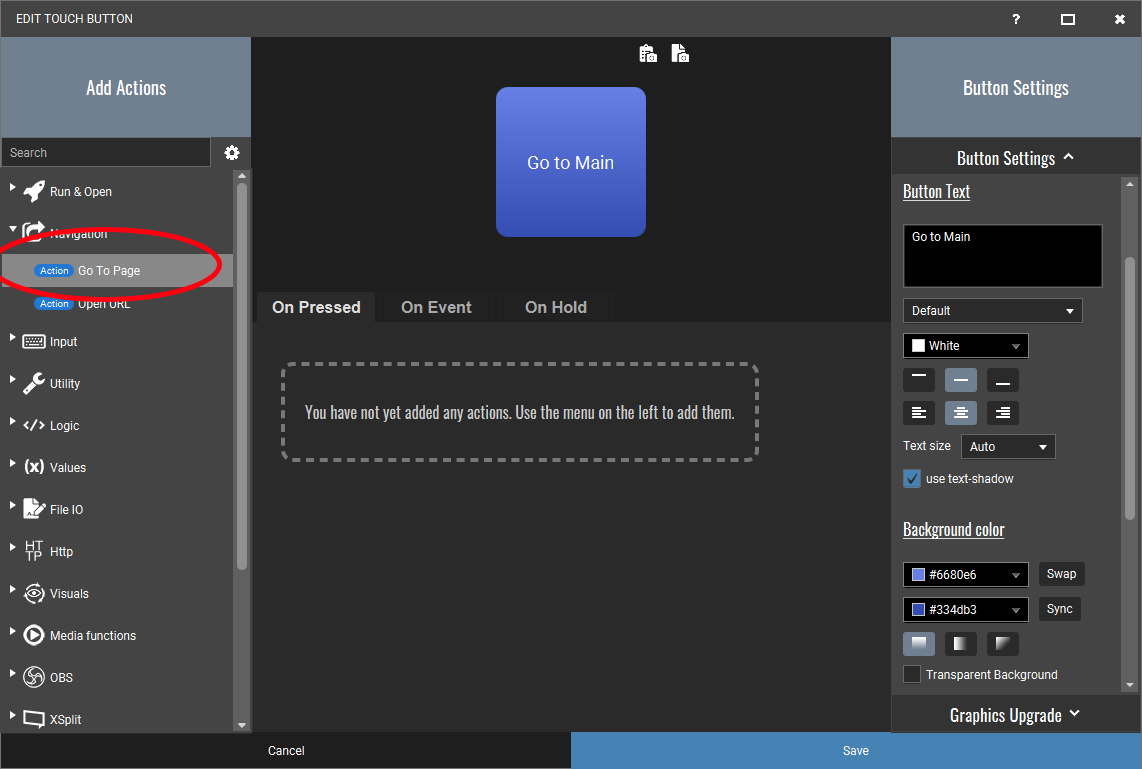
Now click the first button on the page to open the button detail screen. Create the same visuals for the button as we did and add the "Go to Page" action from the navigation category.
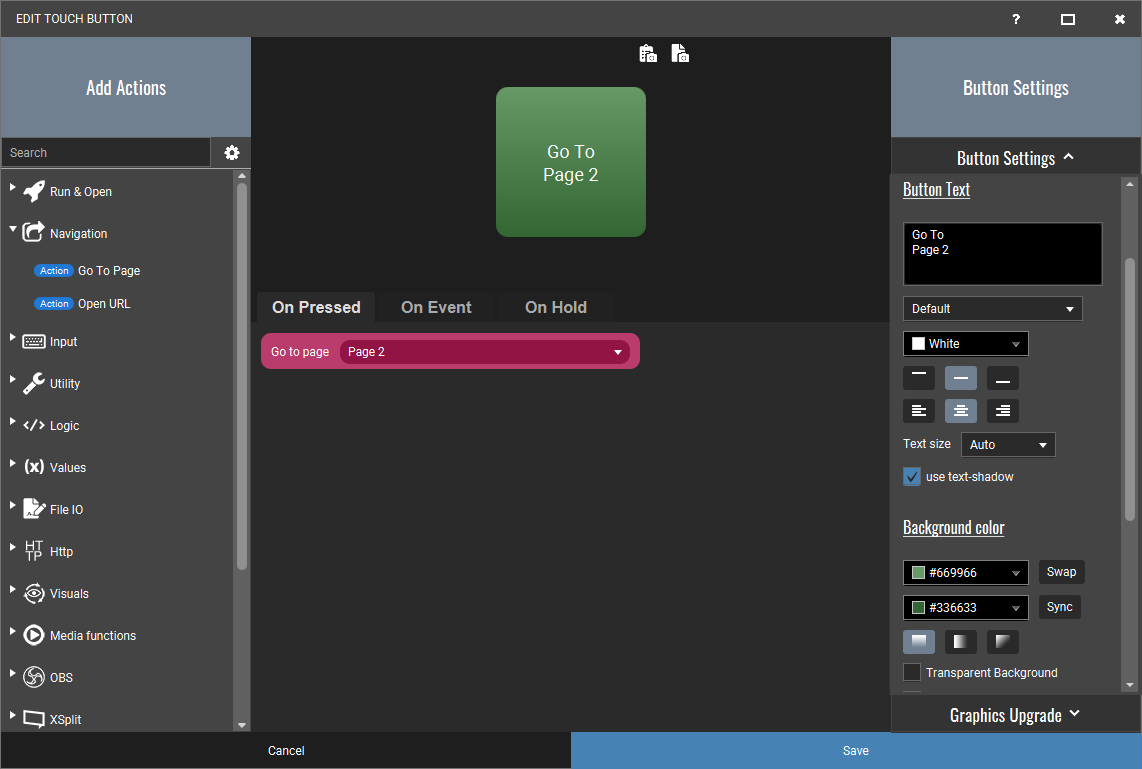
In the action that appears in the "On Press" flow select the page named "OBSFree" which is the previous page we were on.

We have now created a button that will open the "OBSFree" page when you press the button.
All navigation in Touch Portal is done through the mobile device. Selecting a page in the desktop environment does not change the page on your mobile. You need to use buttons like we just created. The desktop app is for setting up Touch Portal.
Now we can go back from "Page 2" to our "OBSFree" page but we still cannot go to "Page 2" because we also need a button to navigate on the "OBSFree" page.
So we are going to use the last free space on the "OBSFree" page to create a navigation button just like we did on "Page 2" but now we will point it to "Page 2".
If you press the newly created buttons on your pages on your mobile, you should be able to navigate between your two pages.